


We've all been there: you carefully peel back the film, lower it onto your screen, and... bubbles. Everywhere. It's one of the most frustrating experiences in phone ownership, but it doesn't have to be. Learning how to apply a screen protector properly is surprisingly straightforward once you know the technique.
This step-by-step guide will walk you through applying a tempered glass screen protector perfectly, no bubbles, no dust trapped underneath, no wonky alignment. It works with all Belvia London screen protectors (£9.95) and most other tempered glass protectors too. If you're still deciding whether you need one, our do screen protectors actually work read covers the evidence, and our best screen protectors for iPhone 17 shortlist covers the latest model fitment.
What You'll Need
Before you start, gather everything you'll need. Most Belvia London screen protectors come with an application kit, but here's the full list:
- Your new screen protector (still sealed)
- Microfibre cloth (usually included)
- Alcohol wipe (usually included)
- Dust removal sticker (usually included)
- A credit card or firm flat edge (for smoothing)
- Good lighting, natural daylight is best
- A clean, dust-free environment (the bathroom after a shower works brilliantly, the steam settles airborne dust)
Step-by-Step Guide: Perfect Application Every Time
1Remove your old case and clean your hands
Take off your phone case and wash your hands thoroughly with soap. Even a tiny amount of oil or grime on your fingers will transfer to the screen and cause problems. Dry your hands completely with a lint-free towel.
2Clean the screen with the alcohol wipe
Use the included alcohol wipe to clean every millimetre of your phone screen. Wipe in one direction (not circular motions) to push dust and oils off the edge rather than spreading them around. Pay special attention to the corners and edges where dust collects.
3Dry with the microfibre cloth
Immediately follow with the dry microfibre cloth, again wiping in one direction. The screen should be absolutely spotless, hold it up to the light at an angle to check for any remaining smudges or dust particles.
4Use the dust removal sticker
Even after cleaning, tiny dust particles may have settled on the screen. Gently press the dust removal sticker across the entire screen surface. It works like sticky tape, lifting microscopic particles that the cloth missed. This step is crucial, trapped dust is the number one cause of bubbles.
5Align the screen protector (don't stick yet)
Peel back the backing film just 2-3 centimetres from the top edge. Hold the protector above your phone and align it carefully using the speaker hole and camera notch as reference points. Getting the top edge aligned correctly is the key, the rest will follow naturally.
6Lower the top edge and let it adhere
Once aligned, gently lower the exposed adhesive edge onto the top of the screen. Let it make contact, tempered glass protectors are designed to self-adhere. Don't press down hard; just let it sit.
7Slowly peel the backing whilst lowering
This is the critical moment. With one hand, slowly peel back the remaining backing film whilst simultaneously lowering the protector onto the screen with your other hand. Work from top to bottom in a slow, controlled motion. The protector should adhere smoothly as it descends, pushing air ahead of it rather than trapping it underneath.
8Smooth from centre to edges
Using a credit card wrapped in the microfibre cloth (to prevent scratches), press firmly from the centre of the screen outwards towards the edges. This pushes any remaining micro-bubbles to the perimeter where they can escape. Work systematically from the centre in all four directions.
9Press the edges firmly
Run your thumb firmly around all four edges of the screen protector to ensure a complete seal. Any tiny gaps at the edges will lift over time and allow dust to creep underneath.
10Pop your case back on
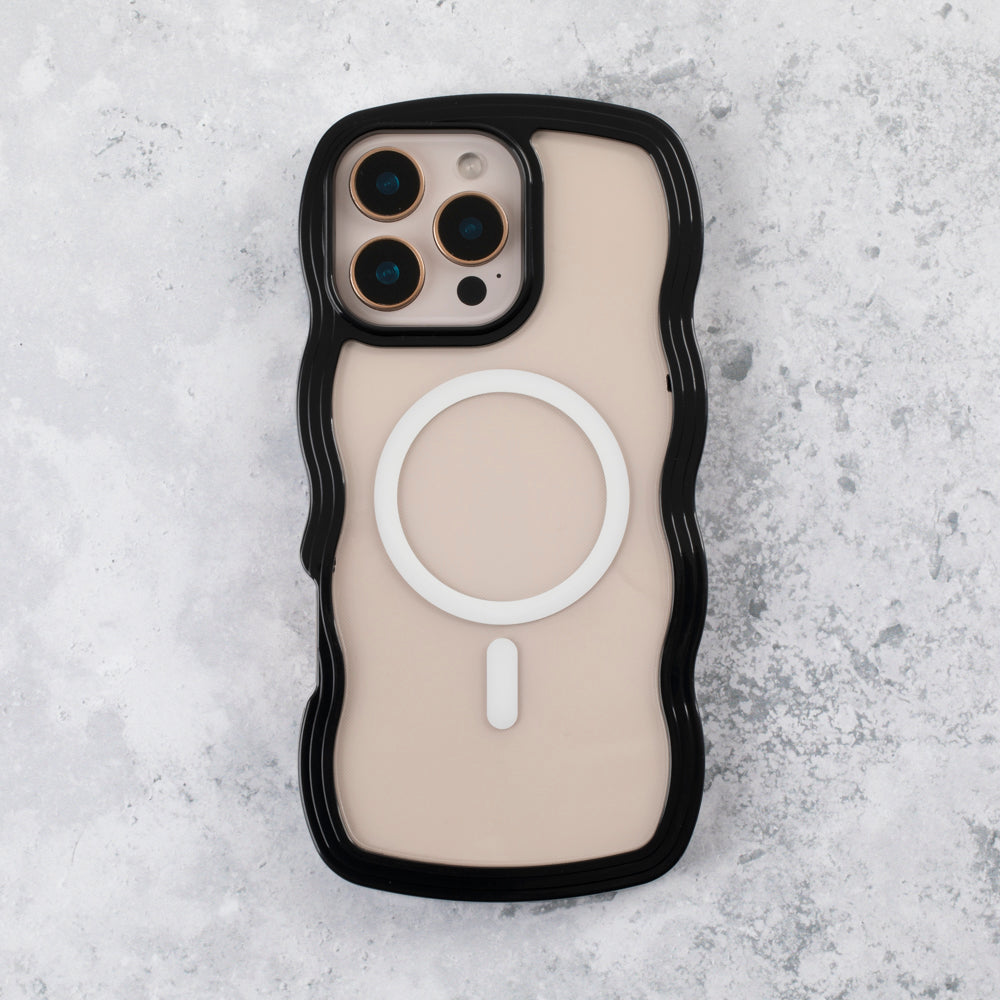
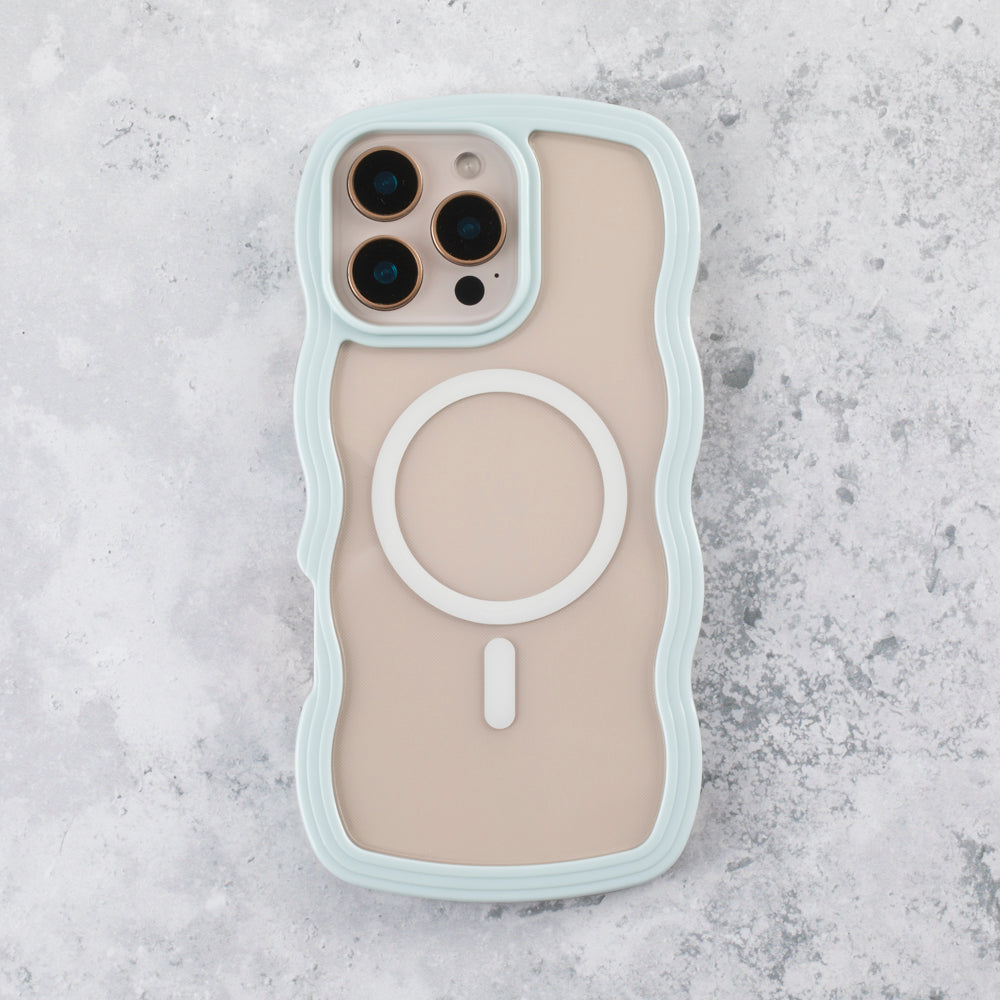
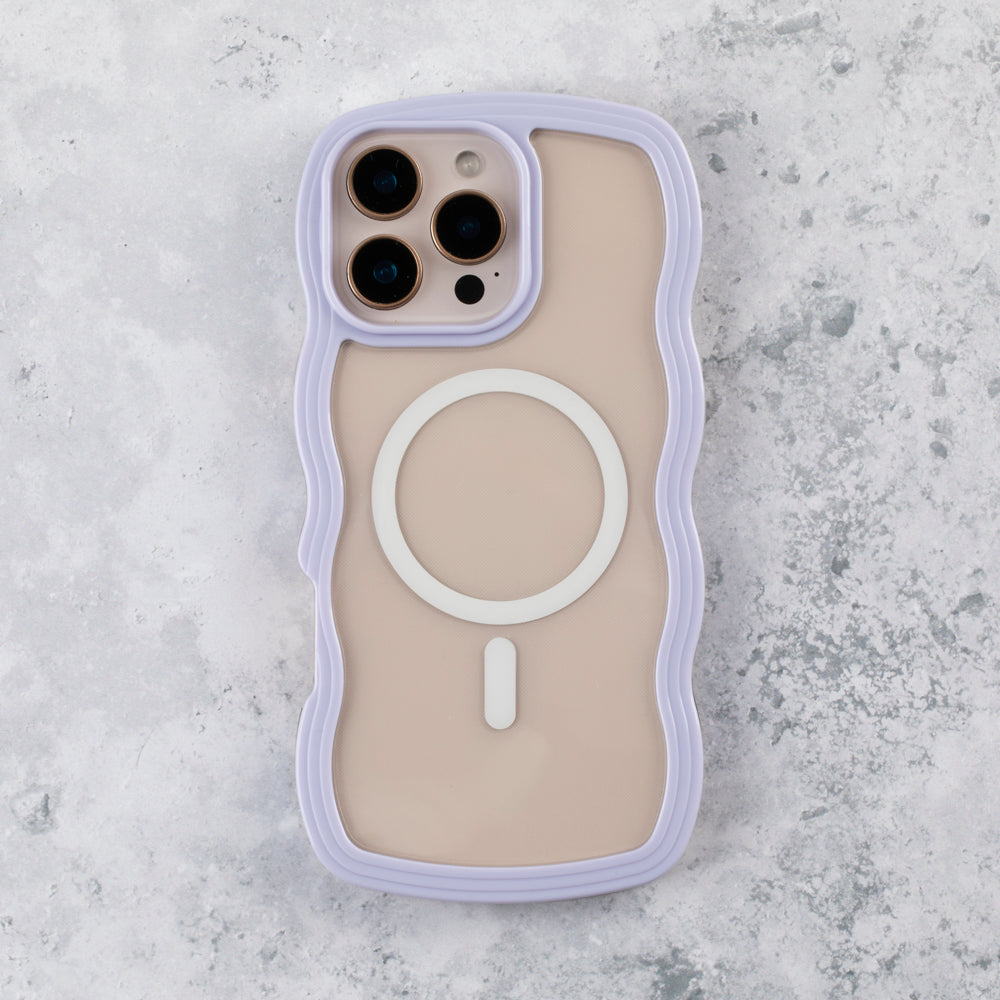
Once the protector is perfectly applied, put your phone case back on. The case edges will help hold the screen protector in place and prevent it from lifting at the corners. A Belvia London Tough Case (£25) is designed to work perfectly with our screen protectors, the raised lip sits neatly over the protector edge.
Troubleshooting: How to Fix Common Problems
Small Bubbles That Won't Budge
Tiny bubbles usually disappear on their own within 24-48 hours as the adhesive fully bonds. If they persist after two days, use a credit card to push them firmly towards the nearest edge.
Dust Trapped Underneath
If you spot a dust particle trapped under the protector, carefully lift the nearest corner using a piece of tape (not your fingernail), use the dust removal sticker to lift the particle, then re-lower the protector. This works for newly applied protectors but becomes harder once the adhesive has fully bonded.
Misaligned Protector
If the alignment is off, peel the entire protector off gently (tape on the corner helps), re-clean the screen, and start again. Tempered glass protectors can typically be re-applied 2-3 times before the adhesive loses effectiveness.
Protector Cracked During Application
This is rare with quality tempered glass but can happen if the protector is flexed too aggressively. Belvia London screen protectors (£9.95) use premium 9H tempered glass designed to resist cracking during application.
Why a Screen Protector Is Non-Negotiable
Even the toughest phone screen can scratch or crack. A screen protector absorbs the impact and scratches so your actual screen doesn't have to. At £9.95, it's the cheapest insurance policy you'll ever buy, especially compared to a £200+ screen replacement.
Paired with a Belvia London Tough Case, your phone gets 360-degree protection: the case handles drops and bumps, the screen protector handles scratches and impacts. It's the combination that keeps your phone looking new.
If you're building a full protection setup, consider adding a coordinating desk aesthetic with a matching tumbler and accessories. And for teens who are particularly hard on their phones, our teen phone case guide has the most protective options.
Already dealing with a yellowed clear case? Our guide on removing yellowing from clear phone cases has practical solutions, and our phone case wardrobing guide explains why rotating cases extends the life of each one.
Shop Screen Protectors Shop All AccessoriesFrequently Asked Questions
How do I apply a screen protector without getting bubbles?
The key is thorough cleaning and controlled application. Clean the screen with an alcohol wipe, remove dust with a sticky pad, then lower the protector from one edge, slowly peeling the backing as you go. Use a credit card to smooth from the centre outwards. Work in a dust-free environment for best results.
Why does my screen protector have bubbles?
Bubbles are caused by either trapped dust particles or air pockets from uneven application. Dust bubbles (with a visible speck in the centre) won't disappear on their own and need to be lifted and cleaned. Air bubbles (clear) often vanish within 24-48 hours as the adhesive bonds.
Can I remove and reapply a screen protector?
Yes, tempered glass screen protectors can typically be removed and reapplied 2-3 times before the adhesive weakens. Lift from a corner using tape (not your fingernail), re-clean the screen thoroughly, and reapply using the same technique.
How much does a Belvia London screen protector cost?
Belvia London tempered glass screen protectors cost £9.95. They feature 9H hardness rating, oleophobic coating to resist fingerprints, and include a complete application kit with alcohol wipe, microfibre cloth, and dust removal sticker.
Should I apply a screen protector before or after my phone case?
Always apply the screen protector first, then put your phone case on. The case edges help hold the protector in place and prevent lifting at the corners. Belvia London Tough Cases (£25) are designed to work perfectly alongside the screen protectors.